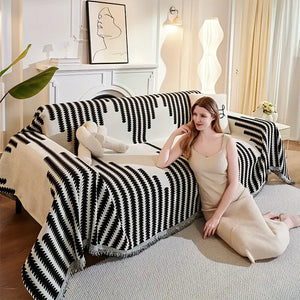
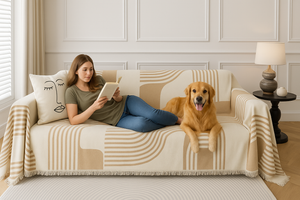
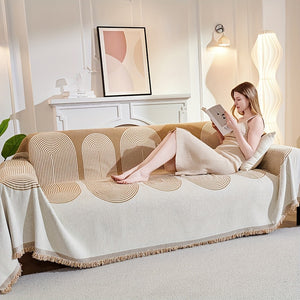
Making your own sofa cover is a fun, creative, and budget-friendly way to transform the look of your living room while protecting your furniture. With a little time, some basic sewing skills, and the right materials, you can create a custom-fit cover that matches your home decor perfectly. In this guide, we’ll walk you through the steps to design and sew your own sofa cover, along with tips for choosing the best fabric and ensuring a professional finish.
Why Make Your Own Sofa Cover?
There are several benefits to creating a DIY sofa cover:
- Custom Fit: Store-bought covers can be a hassle to size correctly, especially for uniquely shaped sofas. With a DIY cover, you get a tailored fit for your specific couch.
- Personalized Style: Choose colors, patterns, and textures that match your decor or experiment with different styles.
- Cost-Effective: High-quality sofa covers can be expensive, but making your own is often a more affordable option.
- Easy Replacement: If you like to change your decor frequently, making your own covers gives you the freedom to switch styles seasonally without breaking the bank.
Ready to start your DIY project? Let’s dive into the materials and steps needed to create your custom sofa cover.
Materials You’ll Need
Before starting, gather the following materials:
- Fabric: Choose a durable and washable fabric based on your needs (e.g., cotton, denim, canvas, or upholstery fabric). Measure your sofa carefully to determine how much fabric you’ll need.
- Measuring Tape: For accurate measurements.
- Pins or Fabric Clips: To hold the fabric in place while cutting and sewing.
- Fabric Scissors: For precise cutting.
- Sewing Machine: A basic machine will work for most fabrics.
- Thread: Use a strong thread that matches your fabric color.
- Elastic or Velcro (Optional): For securing the cover in place.
- Chalk or Fabric Marker: To mark measurements and cutting lines on the fabric.
Step-by-Step Guide to Making a DIY Sofa Cover
Step 1: Measure Your Sofa
Accurate measurements are crucial for a custom-fit sofa cover. Start by measuring:
- Width: Measure the widest part of your sofa, including the armrests.
- Height: Measure from the top of the backrest down to the floor.
- Depth: Measure from the front edge of the seat to the back of the sofa.
- Armrests: Measure the width and height of each armrest separately.
Take note of all the dimensions, and add 10-15 cm (4-6 inches) for seam allowances and hemming.
Step 2: Choose and Cut Your Fabric
When selecting your fabric, consider your lifestyle. If you have pets or kids, opt for stain-resistant or heavy-duty fabrics like canvas, denim, or twill. If comfort is your main priority, go for softer materials like cotton or linen.
Cutting Tips:
- Lay your fabric on a flat surface, folded in half if needed.
- Use your measurements to mark the fabric with chalk or a fabric marker.
- Cut out pieces for the main body, arms, and back of the sofa.
Step 3: Pin and Fit the Fabric
Pin the fabric pieces together along the seams where they will connect. Fit the pinned fabric onto your sofa to check the sizing and make any necessary adjustments before sewing. This step is crucial to avoid mistakes later on.
- Start by pinning the seat and backrest pieces together.
- Pin the arm pieces to the main body, making sure the fit is snug.
Step 4: Sew the Pieces Together
Once you’re satisfied with the fit, sew the fabric pieces together using a straight stitch on your sewing machine. Begin with the larger pieces, like the seat and backrest, and then attach the armrest covers.
- Use a seam allowance of about 1 cm (½ inch).
- Reinforce seams at stress points, such as the edges of the armrests, to prevent tearing.
- Trim any excess fabric for a clean finish.
Step 5: Add Finishing Touches
Depending on your sofa style and how you want the cover to fit, you can add additional features:
- Elastic Edging: For a fitted look, sew elastic around the bottom edges to keep the cover snug.
- Ties or Velcro Straps: These can be added to the sides or back to hold the cover securely in place.
- Piping or Trim: For a professional look, add piping along the seams using contrasting fabric.
Step 6: Hem the Edges
Hemming gives your sofa cover a polished finish and prevents the fabric from fraying. Fold the raw edges under about 1 cm (½ inch) and sew them down using a straight stitch.
- Tip: For thicker fabrics, you may need to use a wider hem to prevent bulkiness.
Step 7: Fit and Adjust the Cover
Place the completed cover on your sofa and make any final adjustments. Tuck excess fabric into the sofa crevices for a neat appearance. If needed, you can add non-slip grips or foam inserts in the seams to keep the cover from moving around.
Choosing the Best Fabric for a DIY Sofa Cover
The type of fabric you choose will depend on the purpose of your sofa cover. Here are some fabric recommendations:
- Cotton: Lightweight and breathable, great for a casual look.
- Canvas: Tough and durable, ideal for homes with pets and kids.
- Denim: Adds a modern touch and offers excellent durability.
- Linen: A sophisticated choice that works well in formal settings.
- Twill: Soft and textured, with a good balance of comfort and durability.
- Upholstery Fabric: If you want a cover that closely resembles the original sofa fabric, choose upholstery material for a structured look.
Tips for a Professional Finish
- Pre-Wash the Fabric: This prevents shrinkage after washing your completed cover.
- Iron the Fabric: Wrinkles can affect your cutting and sewing accuracy, so always start with smooth fabric.
- Double-Stitch the Seams: For extra strength, especially if using heavy fabrics.
- Add Foam Inserts or Non-Slip Pads: To keep the cover in place on leather or slippery sofas.
- Embellishments: Consider adding decorative elements like buttons, zippers, or fabric ties for a custom look.
Final Thoughts
Making your own sofa cover is a rewarding DIY project that allows you to express your creativity while protecting your furniture. Whether you’re looking to refresh an old couch or need a pet-friendly solution, a custom-made slipcover can meet your needs perfectly. Just remember to take accurate measurements, choose the right fabric, and follow these steps to create a stylish, functional cover that will transform your living space.
For more ideas and inspiration, check out Sofa Decor’s collection of sofa covers to see what options are available for different styles and needs. Happy sewing!


